- All
- Product Name
- Product Keyword
- Product Model
- Product Summary
- Product Description
- Multi Field Search
Please Choose Your Language
Views: 0 Author: Site Editor Publish Time: 2026-06-27 Origin: Site
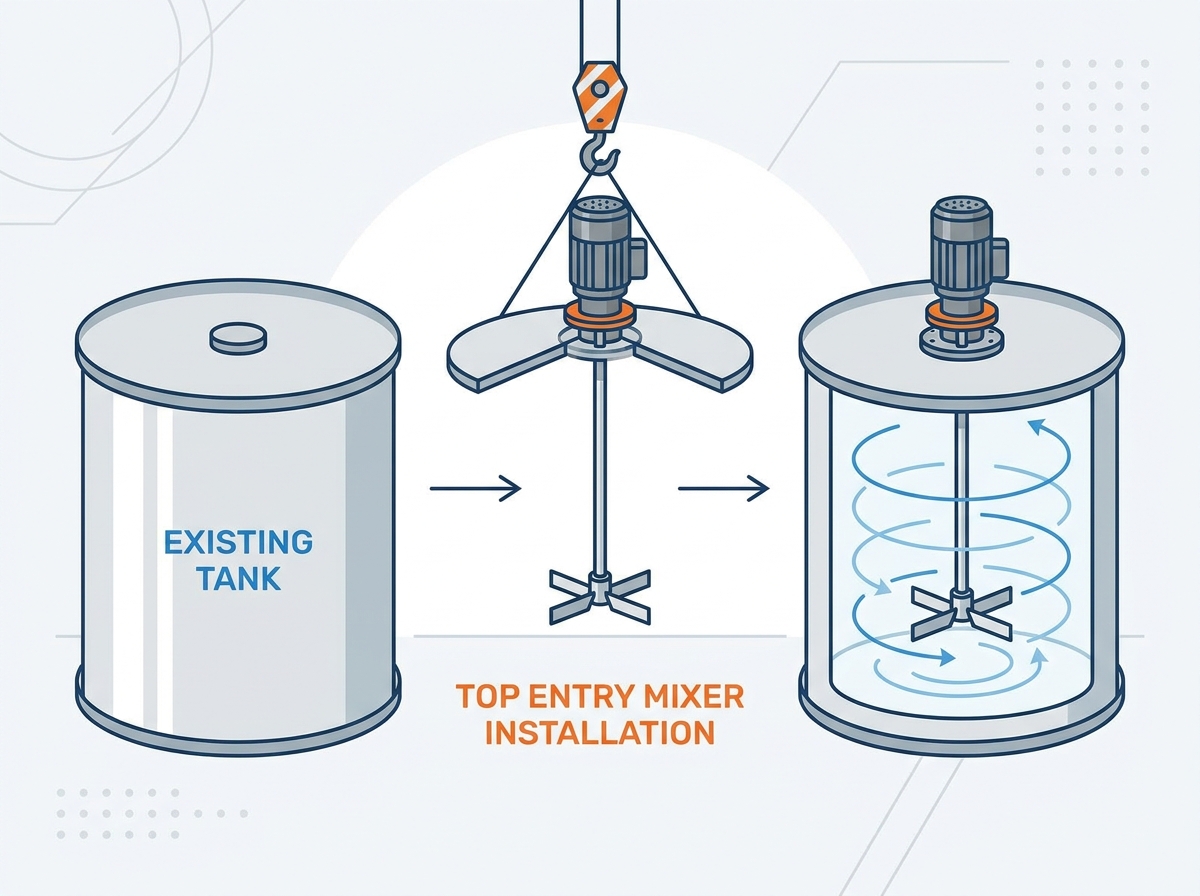
Retrofitting an existing vessel with mechanical agitation introduces heavy engineering complexity. Adding dynamic stresses to a tank not originally designed for them requires precise planning. Facility managers and process engineers face a distinct challenge. You must balance the demand for upgraded mixing efficiency—whether for changing product lines or scaling up production—with the physical and structural limitations of legacy tank infrastructure. This evaluation framework guides you through the retrofit process. We move systematically from equipment selection, design, and planning through structural assessment and mounting hardware selection. Finally, we cover post-installation testing strategies designed to minimize facility downtime and maintain operational safety. Successfully integrating a top entry mixer depends on understanding these mechanical constraints.
Structural viability dictates the installation: A top entry mixer introduces torque, bending moments, and dynamic loads that require thorough roof load capacity analysis and potential structural reinforcement.
Mounting selection depends on tank sealing: Flange mounts are critical for sealed, pressurized, or hazardous environments, while plate or bridge mounts suffice for open or atmospheric tanks.
Impeller and shaft design must accommodate existing geometry: Retrofits often require split or folding impellers to pass through existing manways, alongside precise shaft sizing to avoid harmonic resonance.
Alternative configurations may be necessary: If roof reinforcement is cost-prohibitive or headroom is limited, lightweight lateral flange side-entry mixers or pneumatic mixing alternatives may provide a more economical solution.
Maintenance accessibility must be planned upfront: Retrofits must account for long-term seal serviceability and rigging clearance to avoid excessive maintenance downtime.
A successful retrofit achieves target process outcomes like blending, solid suspension, or heat transfer without compromising the mechanical integrity of the vessel. You must establish baseline success criteria early in the project before ordering any steel or cutting into the tank.
Start by gathering all available legacy tank blueprints. You need original design pressures, material specifications, and dimensional drawings. Older tanks often suffer from wear that is not visible to the naked eye. Conduct non-destructive testing (NDT) to identify wall thinning or corrosion. Ultrasonic thickness gauging and dye penetrant inspections reveal the exact current state of the tank shell. You must know the actual plate thickness before calculating load capacities, as a 20-year-old carbon steel tank will not have the same structural rating it had on day one.
Agitation equipment introduces multiple forces that a static storage tank was never built to handle. Static loads consist of the physical dead weight of the motor, gearbox, and shaft. Dynamic loads include the torque, radial thrust, and bending moments generated during fluid agitation. These dynamic forces fluctuate wildly based on fluid viscosity changes, batch levels, and impeller speed.
A structural engineering review is mandatory. The engineer will determine if the existing tank roof can handle these stresses. If the roof is too thin, it requires external bridge supports or heavy gusseting to transfer the load to the vertical tank walls.
Load Type | Source | Impact on Legacy Tank | Mitigation Strategy |
|---|---|---|---|
Static Weight | Motor, gearbox, shaft, impellers | Downward deflection of the tank roof | Install structural steel bridge spanning the tank walls |
Torque | Rotational resistance from fluid | Twisting forces on the mounting nozzle | Reinforce nozzle with heavy-duty gussets and repads |
Bending Moment | Radial forces from fluid flow hitting the shaft | Fatigue stress on the roof plate and gearbox bearings | Increase shaft diameter, utilize steady bearings if necessary |
Baffles prevent fluid swirling and vortexing in cylindrical tanks. They convert rotational flow into axial flow, improving mixing efficiency and preventing the entire fluid mass from spinning like a solid block. Installing physical baffles inside an existing sealed tank presents severe logistical challenges. It requires confined space entry, extensive surface preparation, and welding on legacy materials that may be heavily corroded or coated.
To bypass this, evaluate off-center or angled mounting configurations. Positioning the shaft 10 to 15 degrees off-center disrupts the flow pattern naturally. This eliminates the need for physical baffles while still achieving the necessary axial turnover for blending and suspension.
Measure the available vertical clearance above the tank. You must account for the motor and gearbox height. Additionally, factor in the lifting equipment required to insert the long shaft during installation. Low-headroom environments demand creative mechanical solutions. Right-angle gear drives reduce the vertical profile significantly, allowing installation in tight spaces where a standard parallel shaft gearmotor would hit the ceiling or overhead piping.
Securing agitation equipment to an existing vessel requires selecting the right mounting method. The choice depends entirely on the tank's operating environment, internal pressure, and structural design.
Closed systems require standard ANSI flange mounts. These mounts provide a secure, leak-proof connection. They integrate easily with mechanical seals, lip seals, or vapor seals. Proper sealing maintains internal tank pressure and prevents contamination. It also contains hazardous fumes, ensuring a safe working environment around the vessel. When retrofitting, ensure the existing tank nozzle matches the required ANSI class rating (e.g., 150# or 300#) and is perfectly plumb to prevent shaft runout.
Open-top tanks or flat-roofed atmospheric vessels typically use plate mounting. If the existing tank roof is structurally weak, you must isolate the equipment weight. Channel supports or structural steel bridges can span the diameter of the tank. This setup transfers the static and dynamic loads directly to the tank walls or external supports.
Measure the exact outer diameter of the tank shell.
Fabricate a structural steel bridge using W-beams or heavy channel iron.
Weld or bolt the bridge directly to the reinforced top rim of the tank walls.
Mount the baseplate of the agitator directly to the center of the steel bridge, completely bypassing the thin tank roof.
Compare configurations against alternatives to ensure the chosen solution aligns with your budget, tank size, and process requirements. Sometimes, modifying an existing tank for top-mounted equipment is structurally unfeasible or financially irresponsible.
Mechanical top-mounted agitation is non-negotiable for specific applications. Complex rheology, high-viscosity fluids, and heavy solid suspension require the axial flow generated by top-mounted impellers. They are also necessary when floor space around the tank perimeter is strictly limited, preventing side access for maintenance personnel or forklifts.
Side entry mixers offer distinct advantages for large storage tanks or deep basins. In these vessels, a top-mounted shaft would be prohibitively long, requiring massive gearboxes and expensive exotic metal shafts. Specific side-entry options include low-overhang, self-supporting designs mounted directly to existing tank manways. Lightweight units installed on lateral flanges eliminate the need for heavy foundation supports or tie-rods, making them ideal for blending low-viscosity fuels or water-like chemicals.
When mechanical agitation is structurally impossible, evaluate compressed air or bubble mixing systems. Pulsed air processes provide a low-shear alternative. They require zero in-tank maintenance and exert no dynamic mechanical loads on the vessel structure. You simply drop air lines through existing small nozzles, making it the least invasive retrofit possible.
Specific design features dictate how well the equipment integrates into a legacy tank. Shaft and impeller engineering must align with the physical constraints of the existing vessel to prevent catastrophic mechanical failure.
Critical speed refers to the rotational frequency that matches the natural frequency of the shaft. Hitting this speed causes harmonic resonance, leading to severe vibration, bent shafts, and shattered gearbox bearings. This is especially dangerous in older tanks with varying wall thicknesses that cannot absorb heavy vibrations. You must specify the shaft diameter and length to ensure the operating speed remains safely below 80% of the first critical speed. Proper sizing minimizes shaft runout and protects the mechanical seals from premature wear.
Fitting a large-diameter impeller through a pre-existing, standard 20-inch or 24-inch tank manway presents a major logistical challenge. Standard rigid impellers often do not fit. Evaluate solutions like split-hub impellers or folding impellers that collapse during insertion. Alternatively, you can pass the individual blades and hub through the manway separately and assemble the impeller inside the tank via confined space entry.
Tanks with high height-to-diameter ratios (greater than 1.2) struggle with uniform fluid movement. A single impeller cannot generate enough flow to reach the top or bottom of a tall vessel, leaving stagnant zones. Use dual or triple impeller configurations. Multi-stage impellers ensure uniform mixing, prevent stratification, and maintain consistent heat transfer across the entire fluid column.
Identify the most common points of failure during the installation and operational phases. Proper execution prevents premature equipment failure and protects the legacy tank from structural damage.
Staging the installation properly minimizes the time the tank remains out of commission. Pre-fabricate all structural supports, bridges, and mounting plates before taking the tank offline. Coordinate lifting equipment, cranes, and safety crews in advance to ensure a smooth transition from teardown to installation. Have all replacement gaskets and hardware on site before breaking any existing seals.
Precision alignment is critical. Use laser alignment tools for the motor, gearbox, and shaft. Misalignment causes premature bearing wear and catastrophic seal failure. Conduct dry-run testing only if the seal design explicitly permits it (many mechanical seals will burn up without fluid lubrication). Follow up with wet-run vibration testing under actual process conditions. This verifies that dynamic loads distribute properly without over-stressing the legacy tank shell or the newly installed bridge supports.
Select mechanical seals that technicians can replace without removing the entire gearbox and motor assembly. Cartridge seals or split mechanical seals save hours of labor and eliminate the need for heavy cranes during routine maintenance. Incorporate rigging requirements into the initial planning phase. Ensure crane or overhead hoist access points remain clear of new piping runs to facilitate safe, routine maintenance over the equipment's lifespan.
Installing mechanical agitation on an existing tank requires rigorous upfront planning, structural assessment, and fluid dynamics analysis. Follow these immediate steps to initiate your retrofit project safely and effectively:
Gather your tank's dimensional drawings, wall thickness measurements, fluid viscosity data, and specific gravity.
Hire a structural engineer to assess the existing roof capacity and design necessary bridge supports.
Measure all vertical headroom and manway dimensions to determine shaft length and impeller constraints.
Consult with a specialized manufacturer to custom-size the shaft and avoid critical speed resonance.
A: Yes. You can use an off-center or angled mounting position. This placement disrupts the fluid flow naturally and prevents vortexing. It is highly beneficial for retrofits where welding physical baffles inside an existing tank is difficult or unsafe.
A: Flange mounts secure sealed, pressurized, or hazardous tanks requiring vapor or mechanical seals. Plate mounts provide a simpler, flat attachment point typically used on open-top or atmospheric tanks where pressure containment is not required.
A: You can bypass small manways by utilizing folding impellers or split-hub designs. Another common method involves passing the individual components through the manway and bolting the impeller blades to the hub from inside the tank.
A: Headroom must accommodate the combined height of the motor and gearbox. You also need sufficient vertical clearance for the rigging equipment to lift and lower the long shaft into the tank. Right-angle drives can significantly reduce this vertical requirement.
A: Side entry mixers work best for very large storage tanks or blending low-viscosity fluids. They are also ideal when the existing tank roof cannot support the heavy weight and dynamic loads of top-mounted equipment without extensive modifications.
A: You can reinforce a weak roof by installing structural steel bridges that span the tank walls. Gussets or independent mounting frames can also be used to isolate the dynamic loads entirely from the fragile tank roof.